After successful registration on Instagram, many users I’m interested in a reasonable question: how to work in this social network, and more specifically, how to process and post on Instagram your Photo. This is what will be discussed in this article.
I hope you already looked at the application tabs a bit and you know what each of them is for. Now we will talk about the most important. It is located in the middle and is a blue camera. This button serves to upload Instagram feed your pictures.
By clicking on it, you will enter the shooting mode. Here you can Take a snapshot using the same button.

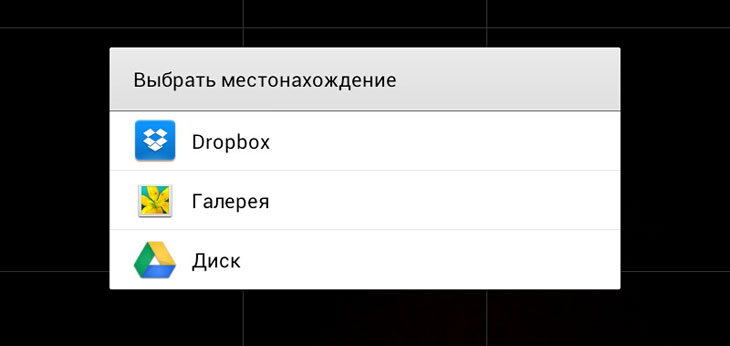
Or select the desired image from the phone gallery or in cloud service using the preview that is on the left and is a gray picture with a mountain.
Once you have taken a photo or selected, you can proceed with its processing. You will see below a few interesting original Instagram filters, try each of them, select the one you need or do not select any at all. From above you You will find a few more buttons that you may need: you can flip the image, make it blurry, increase contrast, add to frame. Remember, not all filters exist. framework.
If you need more features, use special Instagram apps where you can find more effects and framework.

By clicking on the green checkmark in the upper right corner, you’ll confirm that you’ve finished processing the photo and will automatically go to Share mode.
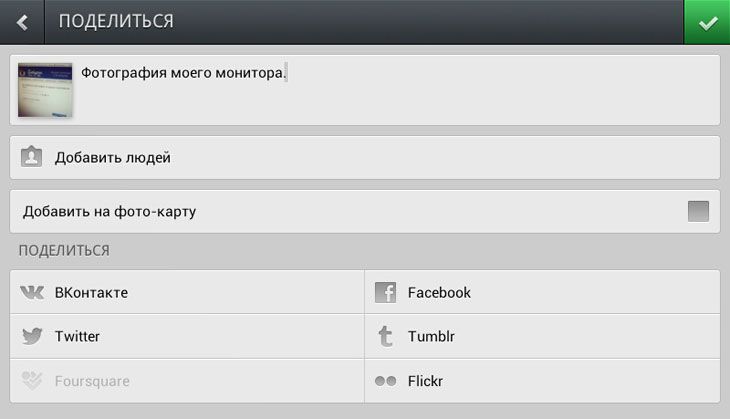
Here you can enter a description for publication, add people, who are present on it, bind the image to a specific place and, most importantly, automatically post it in such social networks like Vkontakte, Twitter, Facebook, Foursquare, Tumblr and Flickr. To do this, you need to click on the appropriate preview and enter your username and password from the desired social. network.

When editing is finished, you can click the green checkmark. After that, your photo will appear on Instagram.