Very often, the photo we want to upload the photo to Instagram is located on your computer’s hard drive. IN in this case, share it with subscribers harder than just done with your fashion smartphone card. However, it is still quite possible.
If you have Instagram installed on your smartphone, then the whole task boils down to how to transfer a photo to a phone. This is the task quite trivial and lies outside the scope of this article. The case when you have there is no smartphone and you use Instagram using BlueStacks with a regular computer (we already have articles on how to register on Instagram and use it from a computer).
So, the initial data is as follows – you have already installed BlueStacks for Windows and it has the coveted Instagram. You have already registered an account and now you want to put pictures with your computer.
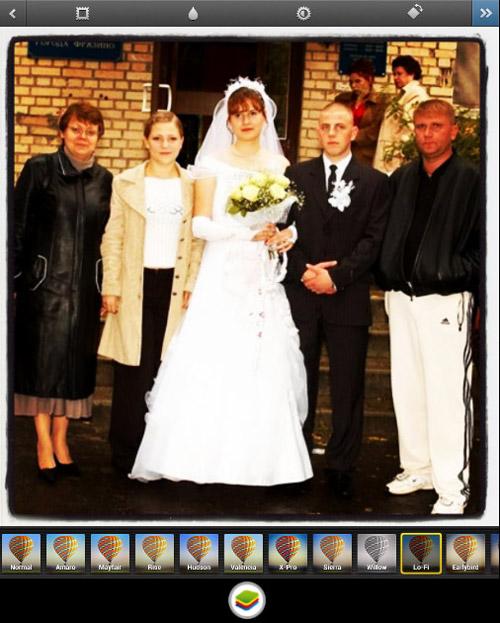
How to make a collage and edit photos on Instagram
The procedure will now be as follows:
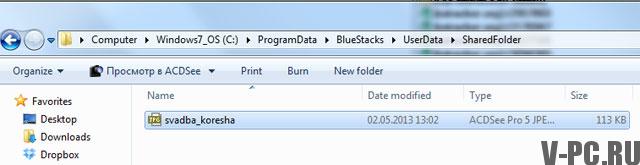
1. Copy all the photos you are interested in to the folder C: \ ProgramData \ BlueStacks \ UserData \ SharedFolder (if you have a Mac, then you have a different folder. Which one, I don’t know. I suppose, however, that if you have a Mac, then you and Iphone are. And in this case, you do not need this instruction!)

2.! Important! The C: \ ProgramData folder is hidden by default, so first enable the show hidden folders (instructions like this make: bit.ly/104hzvf)
3. Launch BlueStacks
4. Via the Android Market (Google Play) or by downloading the APK from any site from under Windows, install a program called ES File manager

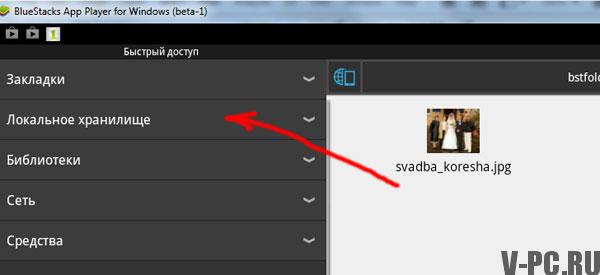
5. Launch ES File Manager and enter the bstFolder folder and, then, BstSharedFolder. If you don’t see such folders, do a search on request “bstfolder” (without quotes). Next go to search results to the BstSharedFolder folder


6. In the above folder you will find all the files that are uploaded there under Windows. Select the desired ones and copy them to the clipboard (long press to select a file, then in the context menu “Copy” or “Copy”)

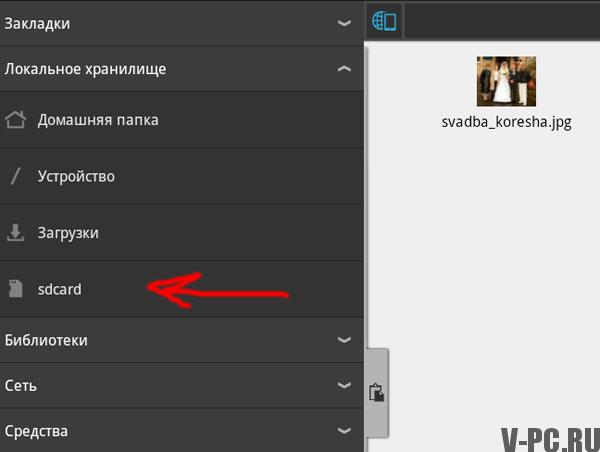
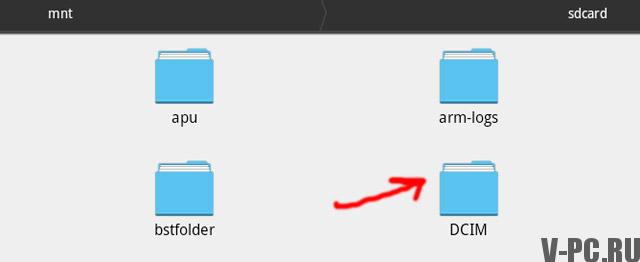
 7. Further, in the ES application File Manager you are currently in, click the Up icon. This will send you to the main menu, i.e. to SD a map. If for some reason this option does not suit you, do not forbidden to go to the SD card by any other not violating the law way, for example, through the quick access panel, as in the screenshot =)
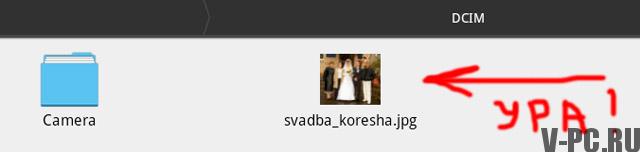
8. Insert your photos onto the virtual SD card in the DCIM folder (Menu – Operation – Paste or quick Paste button at the bottom screen)

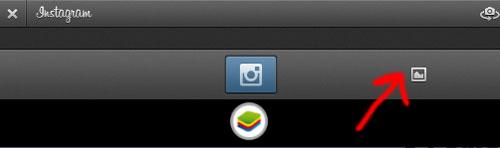
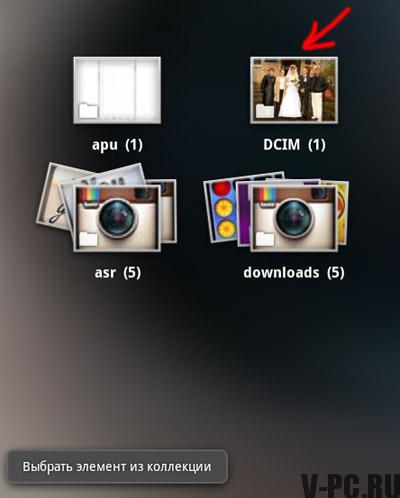
9. Well, now everything is simple. Launch Instagram, go to Gallery section and there you will find your precious photos

10. Done! You can process photos to your liking and share them with friends!