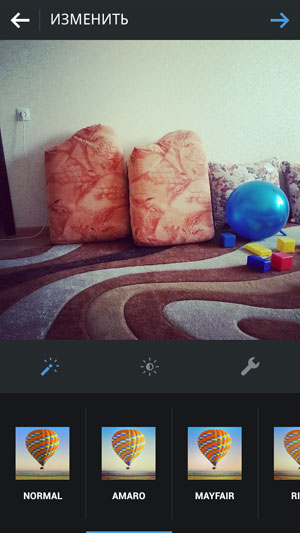
In June 2014, a new version of the Instagram application was released, in which it became possible to handle almost professionally photos before sending them to your friends feed. Added immediately several new features, old ones were modified. Moreover, that it became possible to adjust the intensity of the filters, in The application added brightness, contrast settings, highlights, shadows, warmth, saturation, and sharpness. Such opportunities, if used correctly, allow any even the worst photo, it’s beautiful to submit to your subscribers in Instagram.
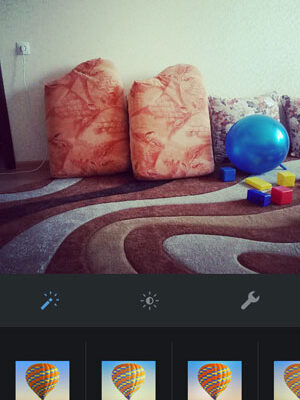
Getting to these options is easy. Uploading a photo to Instagram or taking a picture right from the application, at the stage adding a filter, pay attention to the new menu, which consists of three buttons. We are interested in the latest, third. She is a wrench and just leads to the necessary settings.
By clicking on it, you will be taken to a page where you can process your photo by adjusting brightness, contrast, sharpness, saturation, etc. Let’s talk about all this in more detail.
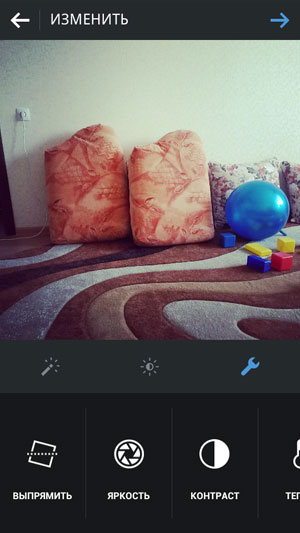
Straighten
The first button is called Straighten. It serves to rotate the photo. You can read more about this in my other note.
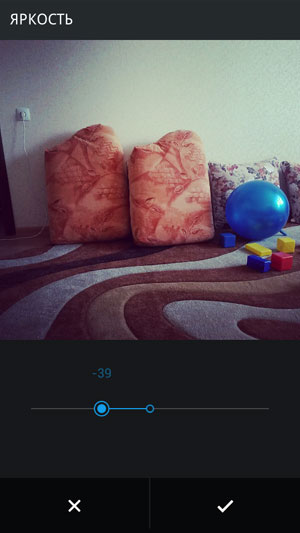
Brightness
Very often, pictures taken in bad weather or in bad weather lighted room, look dim. By adjusting brightness, you can make them brighter and more attractive.
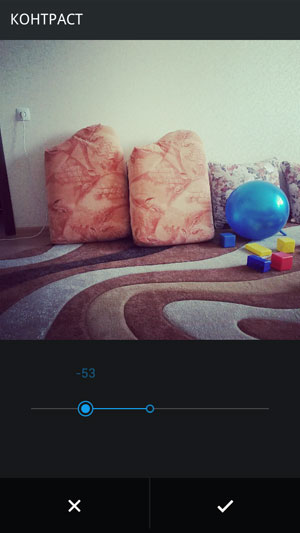
Contrast
The more contrast the photo, the more different tones are outlined on her. If you want to highlight the colors in your picture, use this setting.
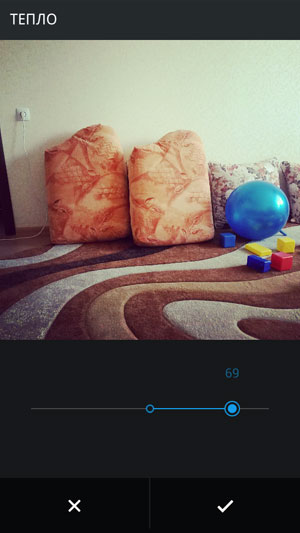
Heat
If you turn the slider to the right, the photo will highlight warm colors (orange, red, pink, etc.), if left cold (blue, cyan, violet, etc.).
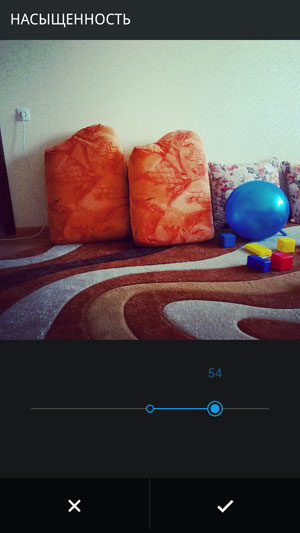
Saturation
Saturation allows you to highlight all the colors in the image, make them more juicy.
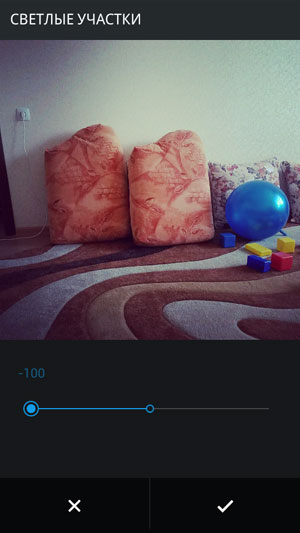
Light areas
Allows you to make brighter colors, or, conversely, darken them.
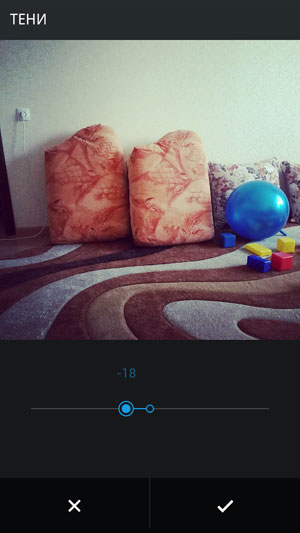
Shadows
The setting is the opposite of Light Sites. With her help You can perfectly brighten the picture.
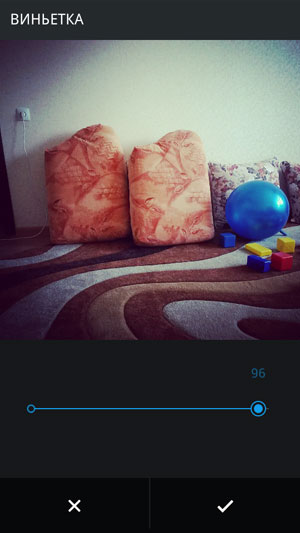
Vignette
Using the “Vignette” you can darken the edges of the photo, and especially corners. It turns out pretty stylish. Give it a try!
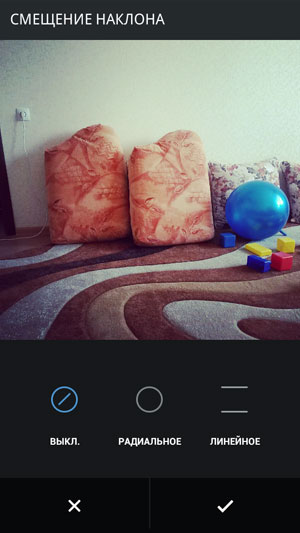
Tilt offset
You can set the blurriness: linear and round. So you can highlight any object in the picture or just blur something unnecessary for prying eyes.
Sharpness
Makes the boundaries of objects in the picture clearer. I like this setting, and I use it very often.
If you adjust the brightness, contrast, saturation, sharpness and more in the photo, the result surely your friends will like it, your publication will get many likes! However, do not overdo it! Tastelessly crafted nobody may like the photo.