There are many Instagram styles: light, dark, warm, bright, with one color accent, minimalism, many details and so on. I love light and bright in my profile one is used, then another. Today I will show you how I I process photos in a light style.
An article for our site was prepared by Galina Klyuchevskaya (Instagram blog @halyna_kliuchevska).
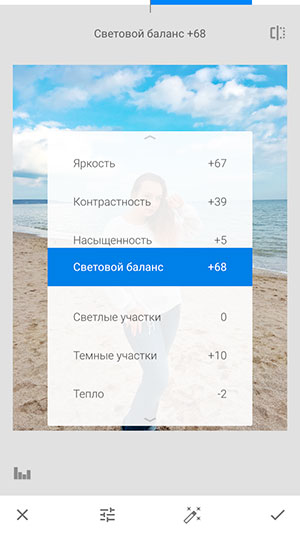
Instagram photo processing example in Snapsed
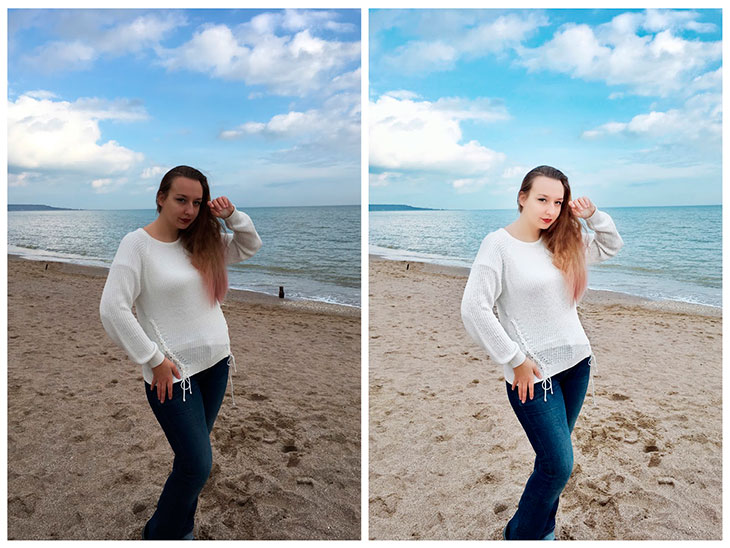
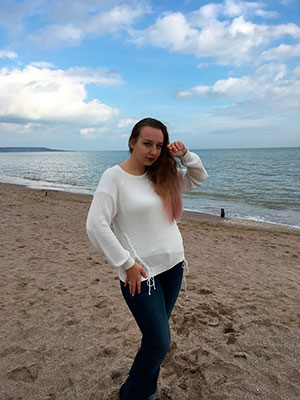
Take, for example, such a source. As we can see, he is enough dark.
Go to Snapseed. Choose a tool. “Correction” and make the following settings:
We get just such a picture, it clearly became lighter than the original Images.
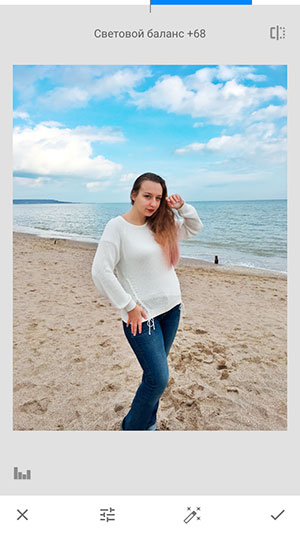
Then select “Curves” and lighten the photo even more.

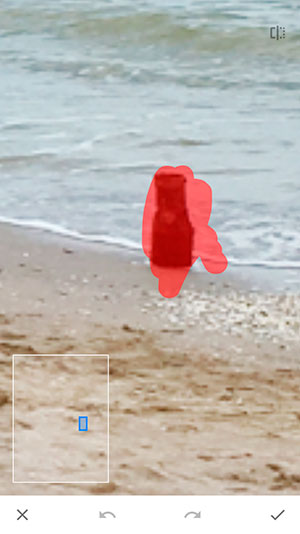
In the point correction we remove excess objects from the photo. For this select unnecessary objects in the frame.
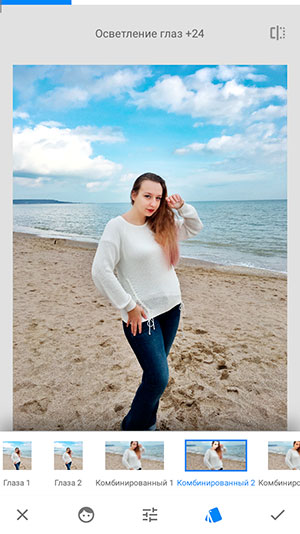
Then use the Portrait tool with the settings “combined 2”.
After that, export the photo and continue processing in Facetune 2 app.
Editing Instagram photos in Facetune 2
We select the Retouch tool and a car.

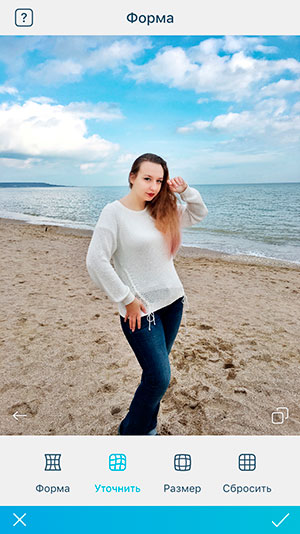
Using the “Form-clarify” tool, we correct the features figures.
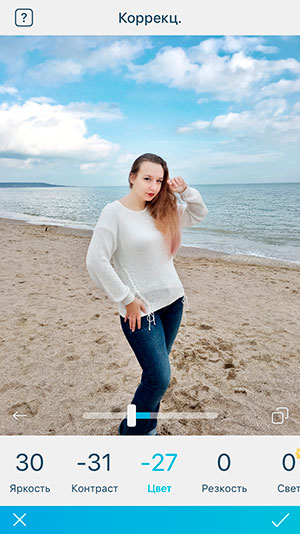
In corrections, we lighten the photo a little more.
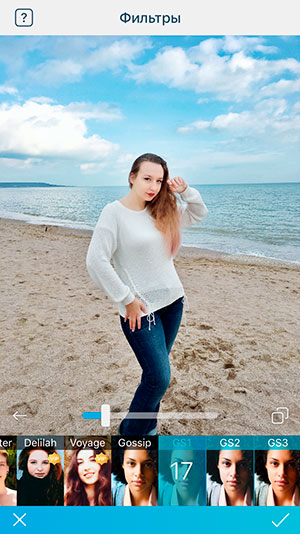
In the filters we apply a filter to taste, I have it Gs 1 on 17.
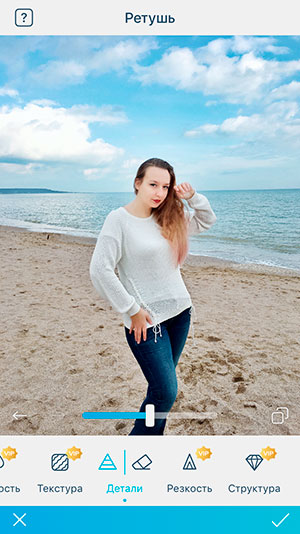
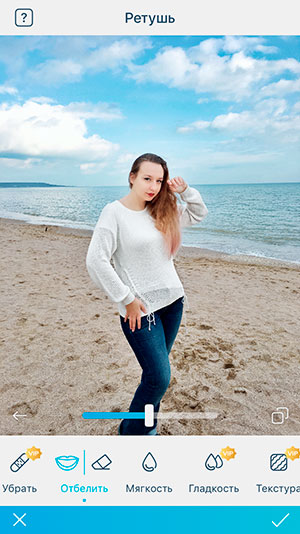
Go back to the retouch using the “Details” and “Whiten” highlight the sweater.
We export the finished result and send to Instagram. ?
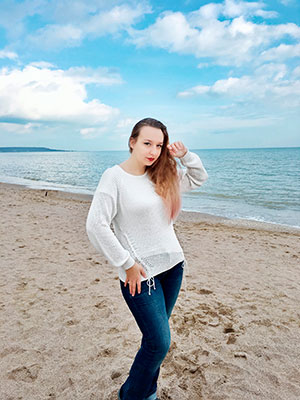
It was – it became.