The content of the article:
- 1 Features of using TeamViewer
- 2 TeamViewer ID – the main identifier of the product
- 3 How to remove the time limit in Teamviewer 13
- 3.1 Reset ID in the standard way
- 3.2 Use a special program
- 3.3 Install the TeamViewer extension for Google Chrome
- 3.4 Complex ID change
- 4 Conclusion
Features of using TeamViewer
As you know, the program “TeamViewer” is designed to work on remote computer, performing various technical operations, sharing files with him, making video calls and so Further.
The program involves two versions of its use:
- Free version (non-profit mode use). Designed for home use and connect to a small number of PCs;
- Paid (commercial) version. number the connected PCs and the duration of the sessions are unlimited.
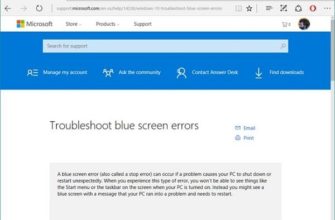
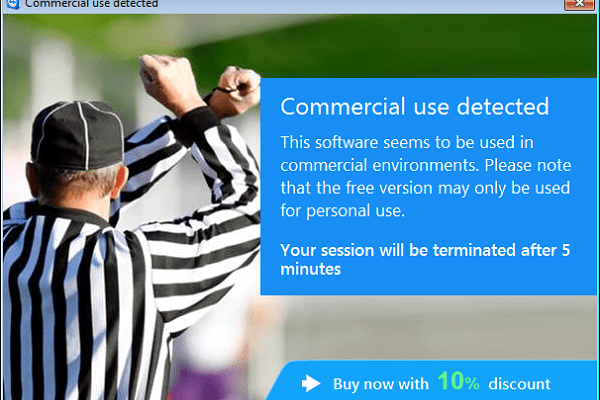
The free version of the product has built-in hidden tools for checking the conditions of its use. In particular, if the user works with a large number of connected machines, often on on a regular basis, then such verification utilities can count such use is commercial. In this case, the program produces Communication about the use of the product for commercial purposes, as a result, the free session is limited to 5 minutes, and subsequent sessions can be carried out only through a certain time.

Product Commercial Use Detection
Some negligent users when installing the program immediately choose a commercial version of the product, after which they are surprised the appearance of appropriate restrictions. And the need remove the five minute limit in Teamviewer 13.
I recommend to read: TeamViewer: Discovered commercial use how to clean.
TeamViewer ID – the main identifier of the product
The version of the program selected by the user during installation attached to “TeamViewer ID” – a unique identification user PC number. When installing the program and the first when connected to the network, it receives its unique ID number, containing, including information about the version of “TeamViewer” on this PC. When changing the status of a program from free to commercial the structure of the ID is automatically changed, and delete it from the PC in order to returning to the free version will be quite difficult.

TimViewer user ID
TeamViewer ID is generated based on several unique attributes, the most important of which may be:
- MAC address of your network card;
- VolumeID of the disk partition;
- Dates for creating the Program Files folder.
To return to the free version of the program, you should think about change all three of the listed attributes.
How to remove the time limit in Teamviewer 13
Before proceeding to consider ways to remove Teamviewer 13 5 minutes limit I will warn that none of them has 100% efficiency. This is due to the features of the work. program “TeamViewer” which is quite individually suited to to each pc. Because even if the tips below have helped many users, this does not mean that they work exactly in your case.
I’ll also warn you that since the tips below contain changing the MAC address of the network card and the VolumeID of the drive, then such programs like “1C Accounting” may lose installed on them a license. Please take this into account when implementing the following operations.
So, we turn to the consideration of existing solutions that allow solve the problem “Timviewer shuts down after 5 minutes” on your PC.
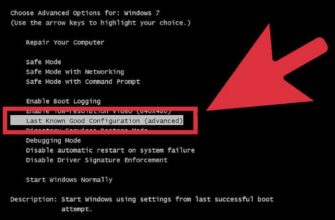
Reset ID in the standard way
The functionality of the “TeamViewer” program has a tool for Reset an existing ID for your PC.
- To do this, click on the “Start” (Start) button.
- Find in the list of programs “TeamViewer”, and in the list of subprograms select the program “Reset ClientID” (if available).
- Your ID will be reset and you will be able to use it again free version until the program again something will suspect.

Reset ID as standard
Use a special program
You can also use the program “TVTools_AlterID”, which can be downloaded from Yandex.Disk (for users from Ukraine to access the file VPN must be enabled). The procedure for working with it is following:
- Copy the program to the directory of the program “TeamViewer” (usually it is Program Files \ TeamViewer).
- Run this program, select the “Trial” mode, and press to “start”.
- Your ID will be changed.
Install the TeamViewer extension for Google Chrome
Alternatively, you can try the supplement for “TeamViewer” browser installed on the Chrome browser. Last thing has no time limits in its functionality, and may be Recommended as an alternative to the stationary version of the product.
Integrated ID Change
The next way is to manually change the ones described above MAC attributes, VolumeID, and Program Files directory dates, which will get rid of the problem in Teamviewer 13 restrictions in 5 minutes. Do the following:
- Close the program “TeamViewer”;
- Terminate all TeamViewer processes in Task Manager. Press Ctrl + Alt + Del, select “Task Manager”, go to process tab, find and stop all the program processes there TeamViewer;
- Uninstall “TeamViewer” from PC using specialized uninstall software (Uninstall Tool, IObitUninstaller and etc.) which, when deleted, also deletes all records of the deleted programs from the system registry;
- Click on Win + R, enter% appdata% there and in the directory that opens, delete the “TeamViewer” folder;
- Press Win + R again, enter there % temp% and in the directory that opens, completely delete all its contents. Also delete the contents of the Windows \ temp folder on the system drive;
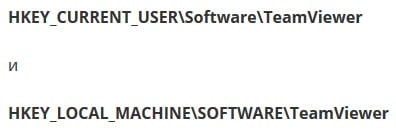
- Click on Win + R, enter regedit there and press enter. Delete registry folders:

- Change the MAC address of the network card. This can be done both manually. (Device Manager – Network Adapters – RMB as needed – Properties – Optional – Select in the list “Network Address “- Enter any – Confirm – Disconnect and connect to the network) or using the TMAC level program (it will suggest changing the MAC addresses of both network connections – wireless and LAN);
- Change the date the Program File folder was created using the program “Attribute Changer”;

Change the date with the “Attribute Changer”
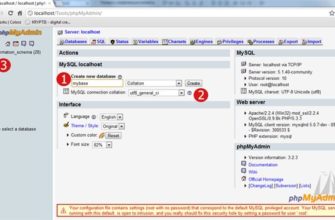
- Change the Volume ID using the “VolumeID” program. Download and unpack the archive into a directory convenient for you. Note, that you need a file corresponding to the bit depth of your OS (Volumeid.exe is 32 bits, Volumeid64.exe is 64 bits).
Now open the command line from the administrator, write the path in it to one of the specified files corresponding to the bit depth of your OS. Put a space, indicate the letter of the section to be changed, put a colon followed by a space and an eight-digit ID code to which you want to change your current Volume ID.
It might look something like this:
C: \ Download \ Volumeid64.exe C: 2456-4568
Where:
C: \ Download is the folder where 2 Volumeid files are unpacked
C: – modifiable section;
2456-4568 – New eight-digit section ID
Press Enter to run the command, and then restart your PC.
Reinstall the latest version of TeamViewer https://www.teamviewer.com/en/.
Conclusion
Effective ways to remove Teamviewer 13 limitation of 5 minutes, are the use of special software, and also change the ID by changing the MAC address and Volume ID. Performing these operations will allow you to perform a reset. commercial use of teamviewer 13 on your pc and again enjoy the free non-profit features use of the program.